Table of Contents

Developers building Shopify apps usually reach for the Shopify CLI because they're tired of:
- Manually scaffolding app boilerplate, OAuth flows, and webhook subscriptions from scratch
- Clicking through the Partner Dashboard to create and configure every test app
- Deploying extensions with fragile, hand-rolled scripts
- Waiting to see changes because there's no local dev loop with hot reload
The Shopify CLI solves all four. It scaffolds an app, runs it locally against a development store with a secure tunnel, and deploys app extensions from your terminal.
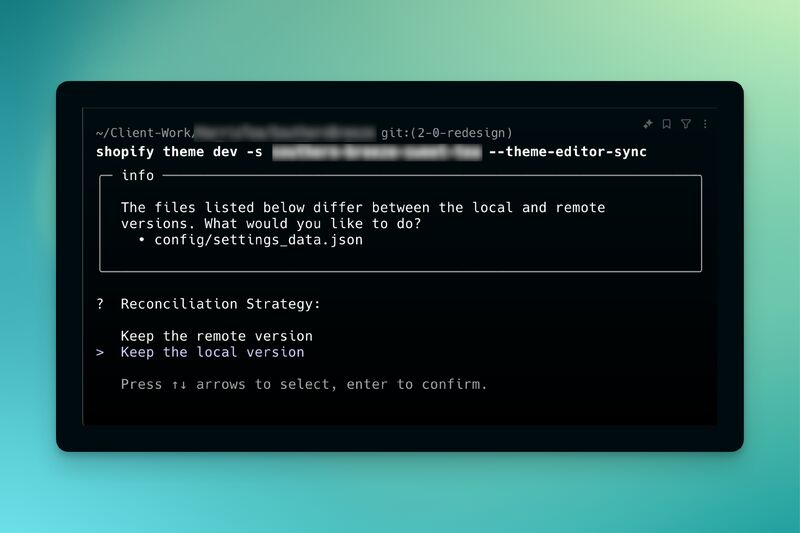
Shopify's CLI via Taylor Page's LinkedIn post
What the Shopify CLI is
The Shopify CLI is Shopify's official command-line tool for building apps, themes, and custom storefronts. For app developers, it handles four things. Project scaffolding (with templates for Remix and other stacks), local development with automatic tunneling to a dev store, environment and secret management, and deployment of app configuration and extensions.
Installing the CLI
The CLI runs on macOS, Windows, and Linux and requires a recent Node.js LTS release. Install it globally with npm:
npm install -g @shopify/cli@latest
Verify the install with shopify version. You'll also want a Shopify Partner account and a development store to test against.
Creating a new app
Scaffold a new app project:
shopify app init
The CLI prompts you for a project name and template, then generates a working app skeleton (OAuth, session storage, and webhook wiring included), connected to your Partner organization.
Local development workflow
From your project directory:
shopify app dev
This starts a local server, opens a tunnel so your development store can reach it, and hot-reloads as you edit. Install the preview on your dev store, and you're iterating against real Shopify APIs in minutes rather than days.
Deploying your app
When you're ready to ship configuration and extensions:
shopify app deploy
This pushes an app version to Shopify. From there, distribution goes through the Partner Dashboard — public apps via the Shopify App Store review process, custom apps directly to a merchant.
Common gotchas (and how to avoid them)
Four things trip up most first apps:
Tunnels and VPNs: shopify app dev opens a tunnel to your dev store, and corporate VPNs or strict firewalls can silently break it. Test on an open network first.
Node versions: the CLI tracks recent LTS releases, so a version manager (nvm or similar) saves you from mismatch errors.
Partner org selection: if you belong to several organizations, confirm the CLI linked the right one before you deploy.
Webhooks: they fire against your tunnel URL in dev, so a dead tunnel means silently missing events, not error messages.
How Shopify apps make money (and why it changes your tooling)
Shopify apps bill merchants through Shopify's Billing API: recurring plan charges, usage-based charges, or one-time purchases. Merchants pay inside Shopify, and your revenue arrives via Partner payouts. That flow is convenient. It's also why app developers lack revenue visibility: the payout report aggregates everything, and the plan-level story (who upgraded, who churned, which price point retains) never appears. Design your plans knowing you'll want that story later. It's the difference between guessing and pricing with evidence.
Tracking your Shopify app's subscription revenue
Most app-dev tutorials skip this part. Once your app charges merchants a recurring fee, you have a subscription business. And the Partner Dashboard's payout reports won't tell you your MRR movements, churn rate, LTV, or which plan actually retains merchants.
Baremetrics has a native Shopify integration (one of seven native data sources) that turns your app's subscription charges into a full metrics suite: MRR waterfall (new, expansion, contraction, churn), cohort retention, LTV, ARPU, and segmentation by plan. Two honest scoping notes. Shopify MRR is included, but Shopify's own fees aren't broken out the way Stripe fees are. And Baremetrics Recover (failed-payment recovery) works with Stripe customers only.
Using Mantle for Shopify app analytics? Mantle shut down in June 2026. Baremetrics' native Shopify integration is the most direct migration path, and several teams have already made that move.
And if your business spans Shopify plus Stripe (say, an app plus a standalone SaaS), Baremetrics normalizes both into one unified MRR view — the multi-source picture neither platform gives you on its own.

Building on Shopify? Connect your store to Baremetrics free and see your real MRR in minutes.

